The measurement of forces and moments is a standard fundamental technique used in the wind tunnel testing.
Generally, the loads (forces and moments) acting on the tested body are measured by a strain-gauge balance. The appropriate balance is chosen according to the needs of the specific test.
The balance can be external or internal (built in the tested body), usually six components, with different ranges of measured forces. Steady as well as unsteady forces can be measured. The balance separates force and moment components, this is complicated by the fact that there could be small differences in large forces.
The usual balance types are:
- Main balance
- Rotating shaft balance (RSB)
- Rear end balance
- Local balance
ONERA Wind Tunnel Division has the complete capacity for design, manufacture, equip and calibrate a large panel of balances. Currently, more than 75 sting balances and 10 assembled balances are available for our needs. On the other hand, we can offer a complete work for external customer, based on his own requests.
Our capacities
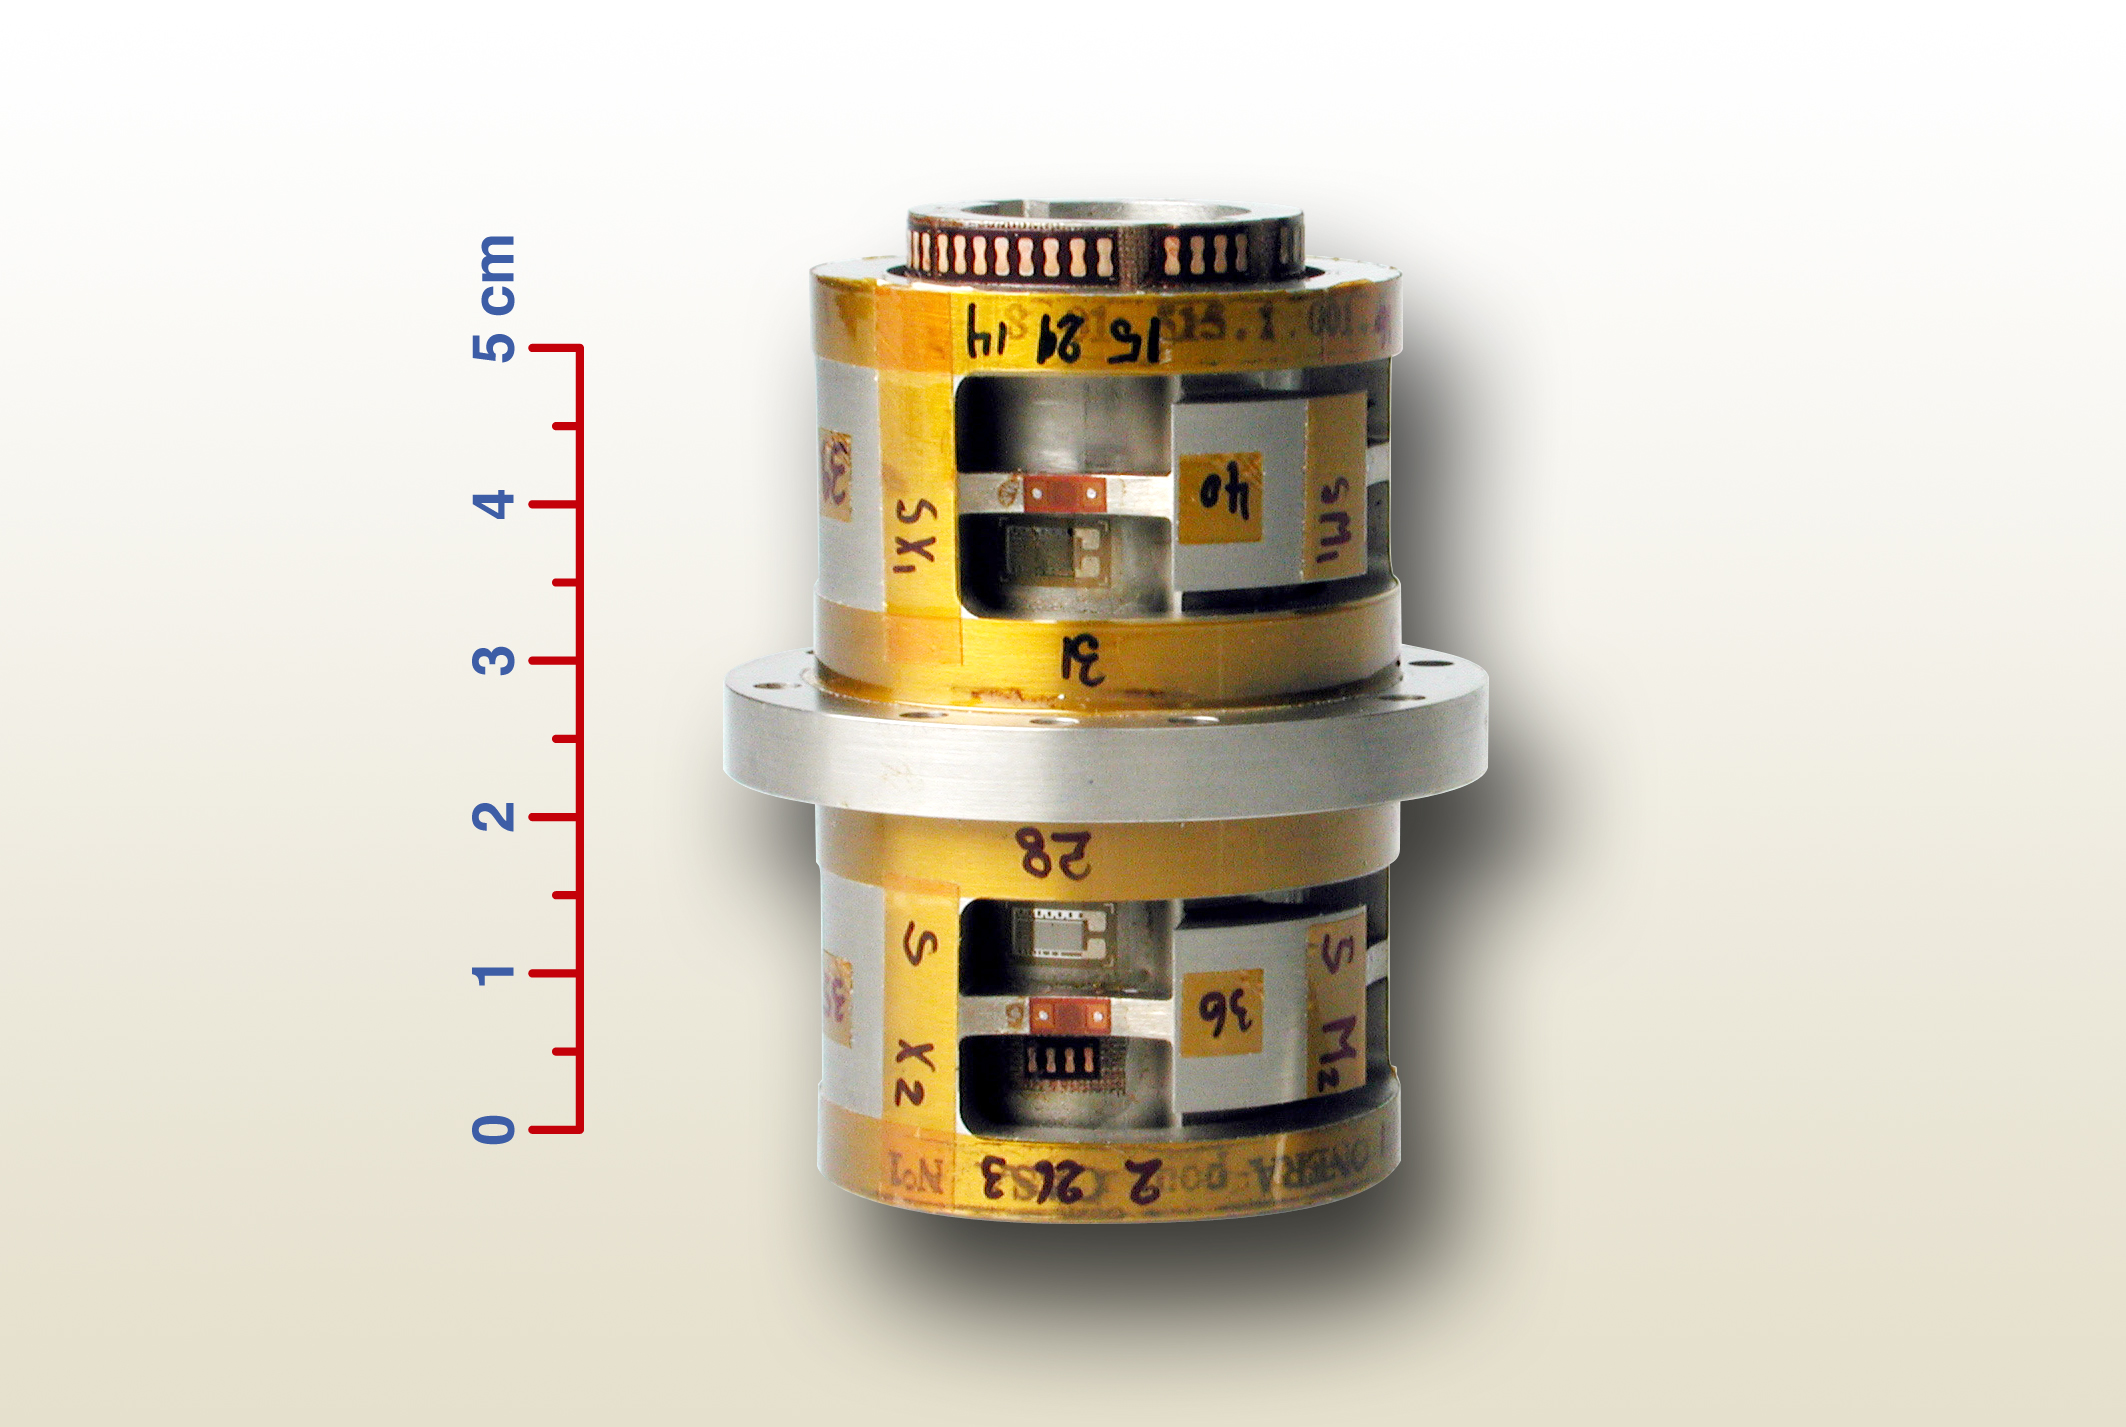
Sting mounted balances
Range of diameter from 8mm to 210mm, Normal Force capacities ranging from 60N to 220,000N and axial force capacities from 100N to 27,000N.
Wall mounted balances
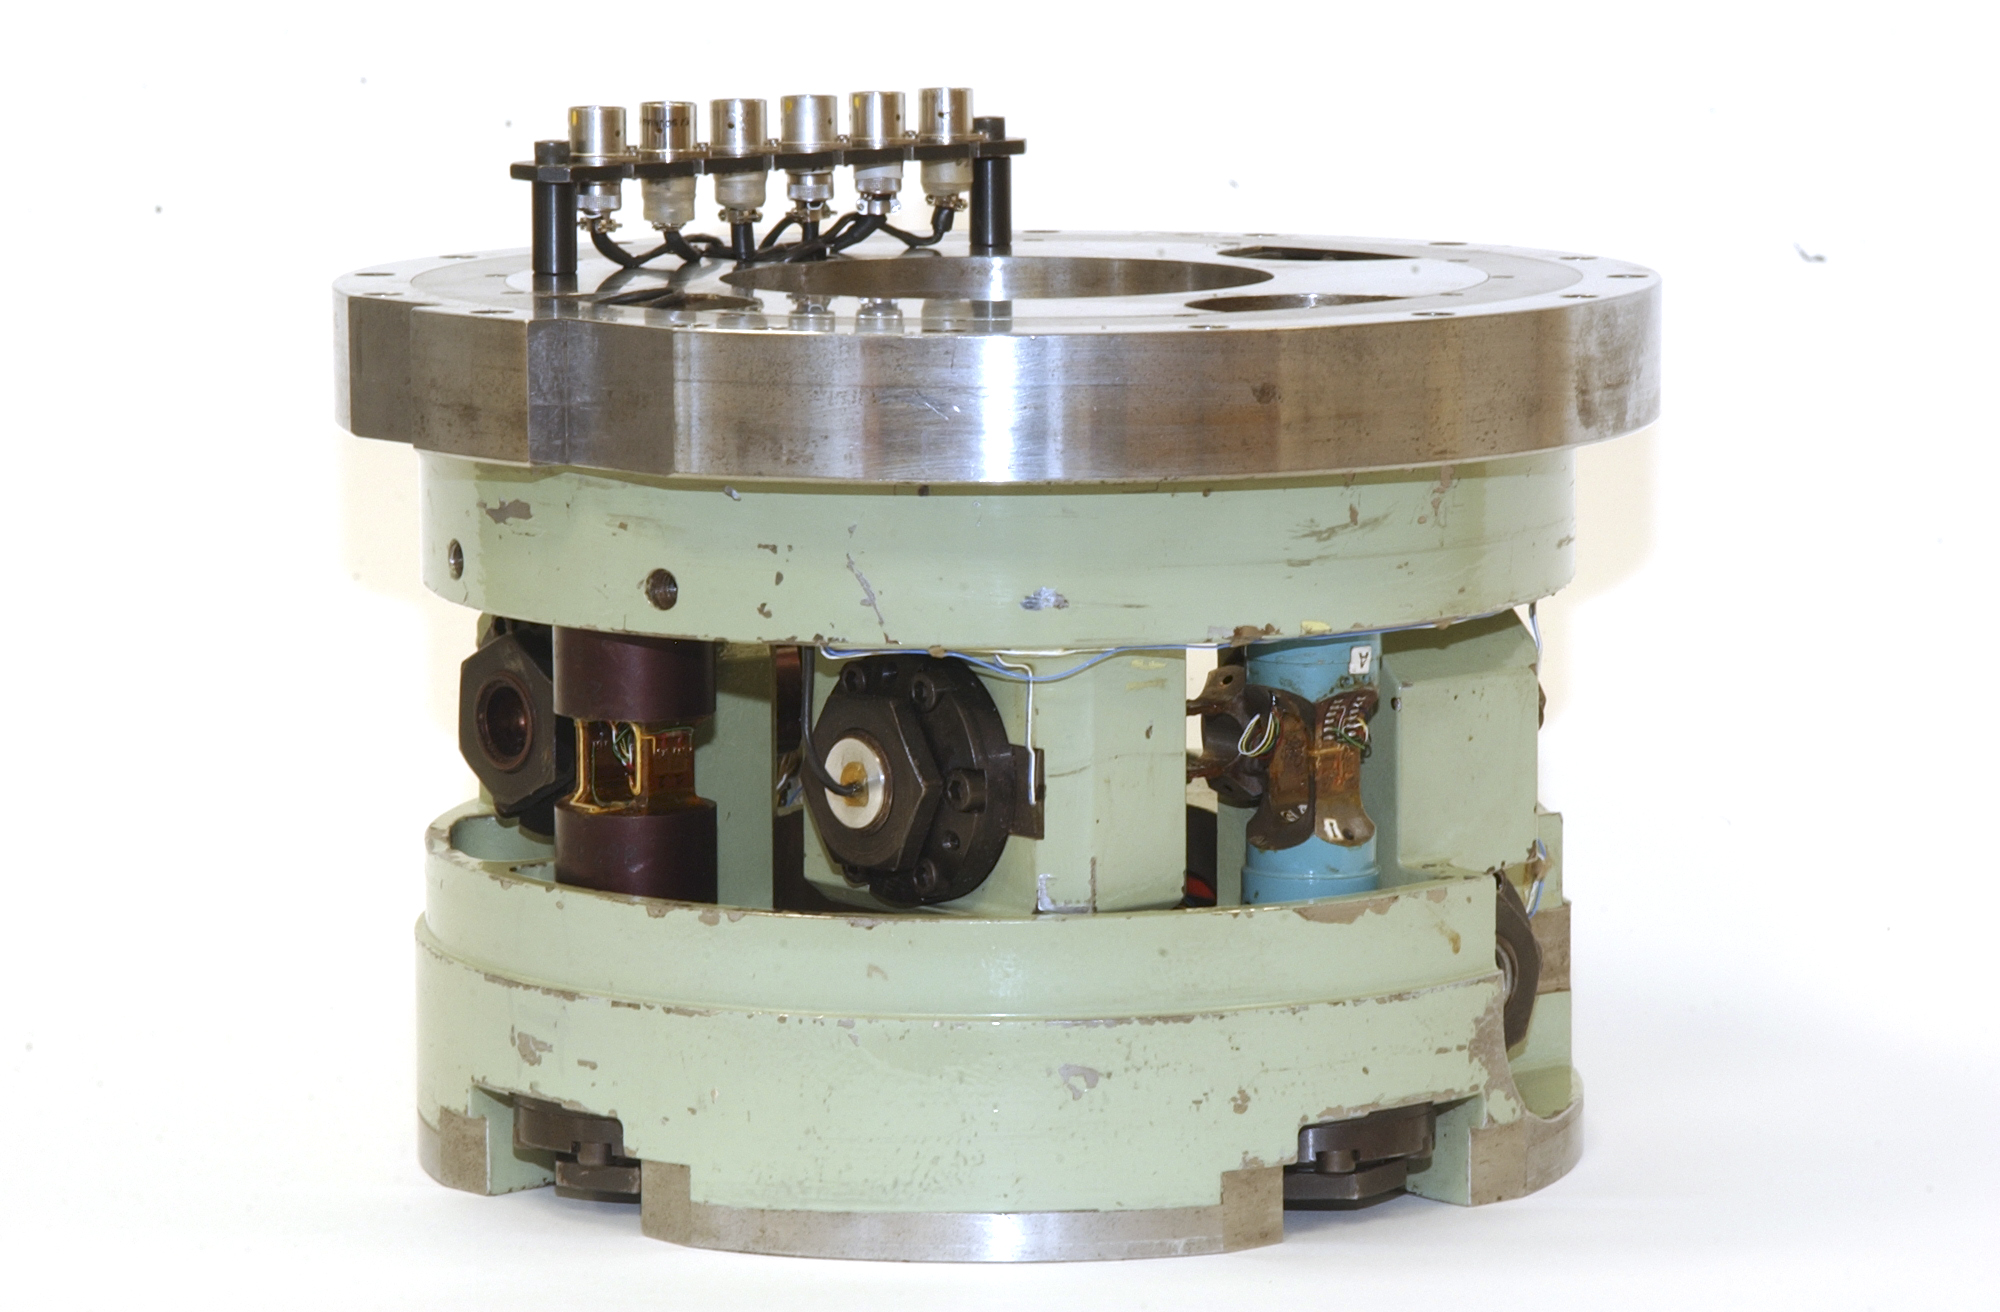
Assembled balances are mainly used for half-model testing (wall or floor balances), for rotor and propeller testing and also for the rear end balances. The wall/floor balance is often equipped with decoupling devices so that high pressure air piping can pass through it without effect on the measurements. For rotor and propeller testing a drive shaft must pass through the balance again without affecting the balance results. The structure of these balances is rigid, the forces are measured by six different dynamometers which are very well decoupled.
ONERA has more than 10 balances of this type available in the range of diameters from 200 mm to 2,000 mm. The normal force capacity range from 8,000 to 100,000 N and the axial capacity from 350 to 25,000 N.
For assembled balances and for special uses, one component dynamometers are often used.
Rotating shaft balances (RSB)
Rotating shaft balances (RSB) are generally used to measure the loads applied to a propeller in six components. The balance's finite element modelisation is optimized to obtain the best compromise between rigidity and sensitivity, to reduce thermo-mechanical and centrifugal effects. These effects are evaluated in the calibration lab before a test, mainly centrifugal effects on a rotating device. ONERA has made rotating shaft balances in a range of diameters from 51 to 200 mm, with maximum speeds up to 15,000 RPM possible. The axial capacities determine the balance sizing, and are in a range from 1,200 N to 13,000 N.
Rear end balance
Rear end balances are generally used to measure the loads applied to a rear model part. Usually based on assembled balance architecture, they have a large capacity in momentum measurement.
Air bridge system for uncoupling balance
We are able to design manufacture and calibrate air brides, for turbine needs, and minimize coupling effects with the balance.
Equipment capability
There is a special laboratory at ONERA's Modane Test Centre in charge of balance gauging and thermal compensation. Many types of gauges are used for very rigid structures like six component balances. This laboratory also instruments other mechanical parts like jack fittings, wing roots, fightcontrol surfaces, inclinometers, and so forth.
Thermal effects are carefully avoided by:
- Specially designing the balance to avoid thermal expansion effects.
- Gauging techniques to avoid zero and sensitivity shifts.
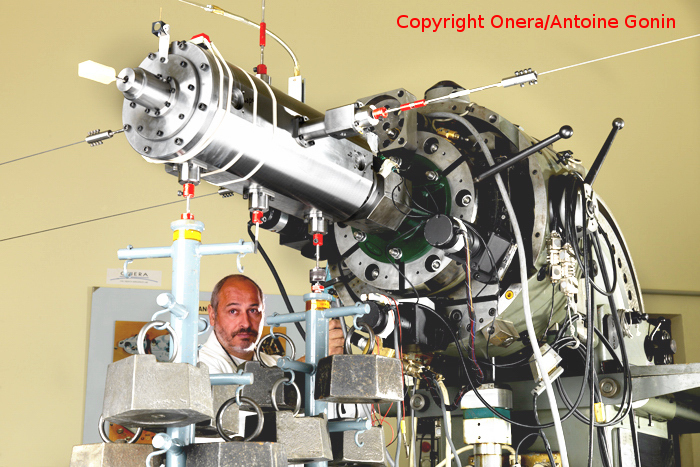
Calibration
- Bench #1: 150 kN capacity/accuracy 1.10-4
- Bench #3: 10 kN capacity/accuracy 1.10-4


